
Date : November 2, 2026
Category: Recovery & Wellness
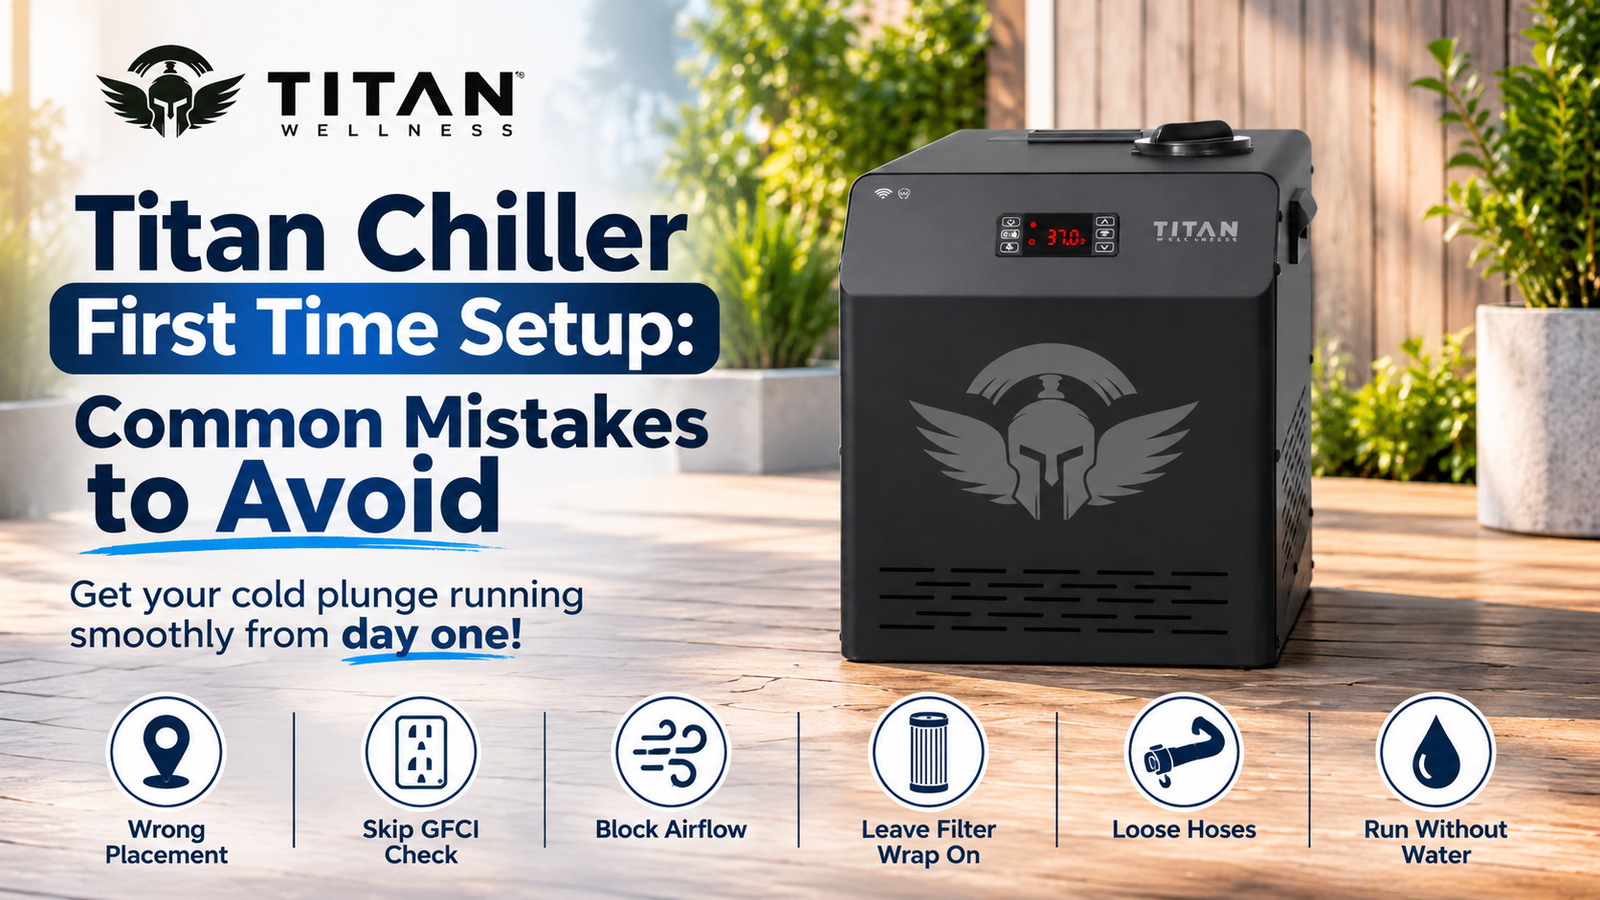
Titan Chiller First Time Setup: Common Mistakes to Avoid
Your Titan chiller arrives. You unbox it. You plug it in. Two hours later, the water is still warm. Wait, did you pay for a cold plunge or a warm bath? Before you search “Titan chiller not cooling” at midnight, take a breath. Your chiller is fine. One small setup mistake is the cause, and you are about to find
Your Titan chiller arrives. You unbox it. You plug it in. Two hours later, the water is still warm. Wait, did you pay for a cold plunge or a warm bath?
Before you search “Titan chiller not cooling” at midnight, take a breath. Your chiller is fine. One small setup mistake is the cause, and you are about to find it.
Welcome to your Titan chiller setup rescue. Every question in your head gets a straight answer here, from “Which hose goes where?” to “Why is my water still not cold?”. Fix it once, and your daily plunge goes back to being the best part of your day.
This guide covers the common mistakes to avoid when you set up your Titan cold plunge chiller, plus a quick fix for each. Keep reading. Mistake number four is the one owners hit most often.
Why Do So Many Titan Chiller Setups Go Wrong on Day One?
Setup looks simple. And it is. The hoses click into place. The chiller runs on a standard 110V outlet. Most people finish in 15 to 20 minutes. Our guide on how to set up a Titan cold plunge chiller walks through every step.
But easy does not mean that people don’t face difficulty. People rush. They skip the manual. They assume the box is ready to run. Three habits cause most of the trouble:
- Rushing the hose and filter steps
- Ignoring placement and power needs
- Setting the water too cold, too fast
Fix these habits, & your chiller runs smoothly from day one. Want the full order of steps? Read our Titan cold plunge setup guide. This post covers what goes wrong instead.
Mistake 1: Putting Your Titan Cold Plunge Chiller in the Wrong Spot
A bad spot hurts your chiller every single day. Pick well once, and you never think about it again.
Your cold plunge tub needs a flat, stable surface. A filled tub is heavy. Grass and loose soil will sink under all that water.
The sun is the other enemy. Titan says to place the unit in a covered or shaded area for the best performance. Direct sun makes the chiller work harder.
Here is what a good spot looks like:
- Flat concrete, a solid deck, or a garage floor
- Shade or cover, if you plan to place it outdoors
- A GFCI outlet close by
- A garden hose within reach for filling
Setting up indoors? Plan for splashes and humidity. A neoprene mat protects your floor & stops slips.
Mistake 2: Skipping the GFCI Outlet Check
This one is about safety. Water and electricity need a good barrier between them.
Every Titan chiller ships with a GFCI power cable built for a standard 110V US plug. You need no special wiring. But your wall outlet must also be GFCI protected. That is a safety must for any device near water.
Not sure if your outlet qualifies? Check it fast:
- Look at the face of the outlet.
- Find the small test and reset buttons
- See both? You are good
- See neither? Call an electrician before you plug in.
Also, skip the extension cord. Plug straight into the wall. Cords near water add risk you do not need.
Mistake 3: Blocking the Airflow Around Your Cold Plunge Chiller
Your chiller needs an air path. It pulls in air & pushes out heat. Block that flow, and cooling suffers.
Leave a few inches of clearance on all sides. Do not push the unit flat against a wall. Keep the vents clear of boxes, towels, & dust.
Indoor setups need extra care. A running chiller gives off heat. Splashing adds humidity. Open a door or add a vent so air keeps moving.
Your chiller also ships with a fan dust filter. Check it now and then. A dusty fan makes the unit work harder than it should.
Mistake 4: Leaving the Wrap on the Titan Chiller Filter
Here it is. The most common setup mistake of all.
Your Titan chiller comes with a 20 micron water filter. It also includes a sediment filter and a fan dust filter. Good news: you need nothing extra to get started.
But the filter cartridge ships with protective plastic wrap. Leave it on, and water cannot flow right. The chiller then works harder and cools less.
Fix it in three quick moves:
- Pull the filter cartridge out of its packaging.
- Strip off every bit of plastic wrap.
- Slide it into the housing before water runs through.
Filters wear out over time. Keep a replacement filter 4 pack on hand so you never run without one.
Mistake 5: Loose Quick Connect Hoses and Mixed Up Ports
Titan chillers use quick connect insulated hoses. You need no wrench. You need no thread tape. You just push until the hose clicks.
Still, a loose fitting is the top cause of leaks on day one. So take ten seconds and check every connection.
Your quick hose check:
- Match the labels on the chiller and the tub
- Connect the inlet and outlet ports correctly
- Push each hose until it seats
- Tug lightly to confirm it holds
- Keep hoses straight, with no twists or loops
The inlet pulls water from the tub into the chiller. The outlet sends cold water back. Swap them in your head, and troubleshooting gets confusing fast. Match label to label, and you stay safe.
Mistake 6: Powering On Before the Tub Is Ready
Patience pays here. A chiller that runs dry or half empty can struggle.
Fill the tub first. Water should cover the tub ports before you power on. A garden hose does the job. Fill times usually run 10 to 30 minutes, depending on your water pressure.
Then power on the chiller. Water should start to move. If it does not, trapped air may sit in the line. Let the pump run for a few minutes. The air usually clears on its own.
Still no flow? Turn the unit off. Recheck both hose ends and the filter. Then try again.
Mistake 7: Rushing the First Cool Down and Starting Too Cold
You paid for a cold plunge chiller. You want ice-cold water now. That urge causes two mistakes.
- The number one mistake is that people expect instant results. Cooling time depends on three things. The three things are your tub size, your climate, & your chiller model. A big tub in a warm garage takes longer than a small one indoors. Also, wait for the first time to run. Patience beats checking again and again.
- Starting too cold is another mistake. While the Titan Chiller goes as low as 37°F, you should not begin there. Beginners should use temperatures between 55°F and 60°F for their early sessions, which should last between 1 and 3 minutes.
If you’re new to cold plunging, start at a warmer temperature like 60°F and lower the temperature once you feel comfortable doing so. Cold plunging is not for you if you feel numbness or dizziness or have the shivers and are unable to control them. Pregnant or suffering from a heart condition? Then you must consult your doctor before cold plunging.
Mistake 8: Picking the Wrong Chiller HP for Your Climate
Power matters. A chiller too small for your tub or climate will run hard and cool slowly.
Titan offers three models. All of them cool water down to 37°F. The difference is how fast they get there and how well they hold that temperature in heat.
| Chiller | Best For | Climate Fit |
| 1/3 HP | Smaller tubs, lighter use | Climates up to 85°F |
| 1/2 HP Pro | Warmer areas, frequent use | Climates above 85°F |
| 1 HP Pro+ | Large tubs, daily heavy use | Extreme heat, any climate |
Live somewhere hot? Do not pinch pennies on power. Browse the full range of Titan water chillers & match your pick to your tub and weather.
Mistake 9: Skipping the Titan Chiller WiFi App Setup
The WiFi app is not required. Your chiller works fine with the on unit controls. But the app saves time. You set a schedule, and the water is cold before you walk outside.
Many owners hit the same snag. Only 2.4 GHz networks work. A 5 GHz only router will not pair, no matter how often you try.
Fix pairing problems in four steps:
- Confirm your WiFi runs on the 2.4 GHz band
- Move your router closer, or add a WiFi extender near the chiller
- Restart the chiller
- Remove the device from the app and pair it again
Outdoor setups face the most range trouble. Plan for that before you install. Our Titan cold plunge chiller WiFi app guide explains every feature and fix.
Mistake 10: Forgetting Filter and Water Care After Setup
Setup is not the finish line. A clean routine keeps your chiller healthy for years.
Keep it simple:
- Weekly: Check the filter every week. Remove any debris that is present. Fill up water if the water level drops.
- Regularly: Every once in a while, replace filters. Titan sells packs built for its chillers.
- Every few weeks: Wipe the vents & the fan dust filter.
- Every 1 – 3 months: Drain and refill the tub. Use less time between changes if you plunge daily.
Small habits stop big problems. A clean filter protects your flow. Clear vents protect your cooling.
What Do Genuine Titan Chiller Owners Say About Setup?
Do careful setups pay off? Verified buyers say yes.
- Robert F., Titan Wellness website review
Robert tested his 1/3 HP water chiller in a bathtub while he waited for a new tub. He says the chiller works great. He was ready to plunge in a short time. He plans to recommend it to his patients. - Nancy B, BBB review
Nancy says everything went smoothly, from ordering to setup. She calls her Titan plunge top quality and says it works like a dream. She also praised the team’s follow up. - James, BBB review
James found the materials solid and well built. He says the chiller holds his water at a steady temperature. Setup felt straightforward, and support checked in afterward. - Rick Sutera, Trustpilot review
Rick has used his Titan Cold Plunge for over a year. It works great, including the WiFi connection. He orders filters on the Titan website, and they arrive within days.
→ Takeaway: Set up with care, and your Titan cold plunge chiller keeps delivering.
Titan Chiller Setup Mistakes at a Glance
Short on time? Scan this quick list.
- Wrong spot → Choose flat, shaded ground near a GFCI outlet
- No GFCI check → Test the outlet and skip extension cords
- Blocked airflow → Leave a few inches of space on all sides
- Wrapped filter → Remove every bit of plastic first
- Loose hoses → Match labels and push until they click
- Early power on → Fill the tub before you start the chiller
- Too cold, too fast → Start at 55 to 60°F
- Wrong HP → Match power to tub size and climate
- WiFi trouble → Use a 2.4 GHz network
- No upkeep → Check filters weekly
Ready for a Mistake-Free Titan Cold Plunge Chiller Setup?
You now know the ten traps. You also know how to bypass each one. That puts you ahead of most new owners.
Take your time. Check the outlet. Remove the filter wrap. Seat every hose. Start the water warm and work your way colder. Do that, and your chiller delivers cold water every day without a single bag of ice.
Ready to upgrade or still comparing models? Visit Titan Wellness to explore the full lineup. Stuck on a setup step? Reach out to Titan’s support team. So, what are you waiting for? Your plunge is waiting. Set it up right, and enjoy it.
Most asked questions about the Titan Chiller Setup
Q1. Do I need a plumber to install a Titan chiller?
No. Quick-connect hoses make this a DIY job. You only need a GFCI-protected outlet.
Q2. Why is my Titan chiller not cooling after setup?
Check two things first. Make sure both hose ends sit tight. Then confirm you removed the wrap from the filter. Still stuck? Check Titan’s manual or FAQ page.
Q4. What temperature should I start at?
Cold plunges should start between 55 & 60°F. Lower it slowly over the next few weeks as you adapt to the temperature.
Q5. Can I use an extension cord with my chiller?
No. Plug it straight into a GFCI wall outlet to avoid any risk of short circuit due to water.
Q6. Does the chiller work without WiFi?
Yes. The on unit controls run everything. WiFi only adds app control and scheduling.
RECENT BLOGS
Titan Chiller First Time Setup: Common Mistakes to Avoid
Nov. 02, 2026
Is the Titan Steam Sauna HSA/FSA Eligible? What Buyers Should Know
Oct. 28, 2026
Titan Cold Plunge in Hot Weather: How Does the Chiller Perform?
Oct. 27, 2026
Titan Steam Sauna Warranty and Parts: What Buyers Experience
Oct. 26, 2026
Titan Cold Plunge Return Policy and Shipping: What to Know Before You Order
Oct. 23, 2026Recent Blogs
Titan Chiller First Time Setup: Common Mistakes to Avoid
Your Titan chiller arrives. You unbox it. You plug it in. Two hours later, the water is still warm. Wait,…
November 2, 2026
Read More
Is the Titan Steam Sauna HSA/FSA Eligible? What Buyers Should Know
Is a sauna HSA eligible? Search it online, and you will get three answers: yes, no, and maybe. No wonder…
October 28, 2026
Read More
Titan Cold Plunge in Hot Weather: How Does the Chiller Perform?
It is 100°F outside. Your plunge water should not feel like soup. Most people worry about this. Will the chiller…
October 27, 2026
Read More
Titan Steam Sauna Warranty and Parts: What Buyers Experience
What happens when your home sauna stops heating when you desperately need it after a tough day? Most buyers never…
October 26, 2026
Read More
Titan Cold Plunge Return Policy and Shipping: What to Know Before You Order
Thinking about buying a Titan cold plunge but wondering what happens if it is not the right fit, or how…
October 23, 2026
Read More
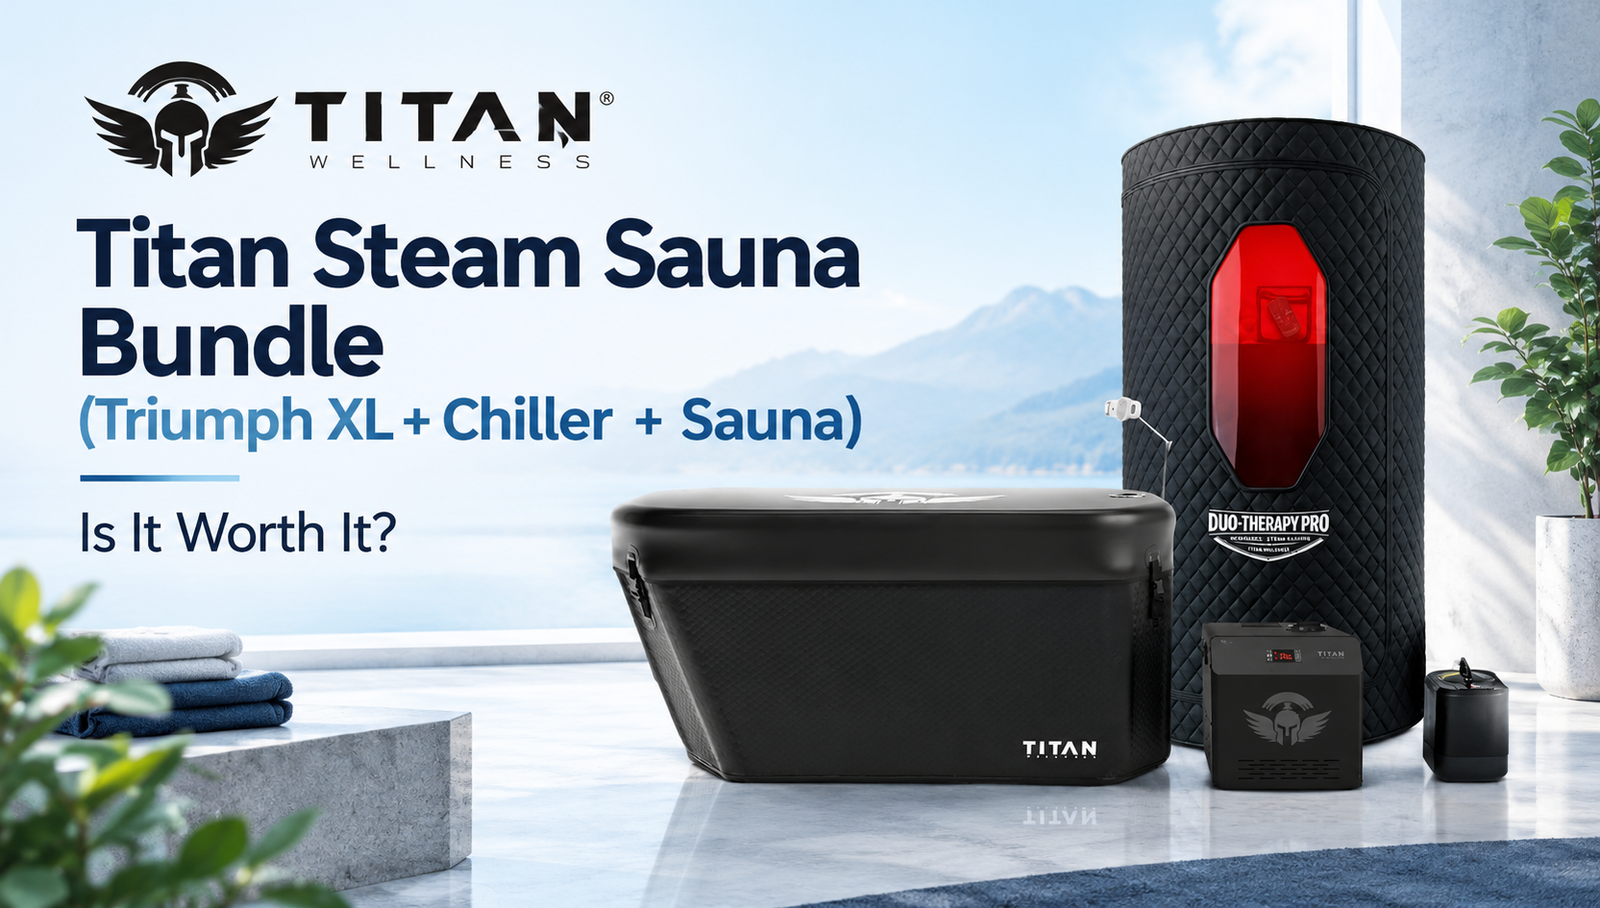
Titan Steam Sauna Bundle (Triumph XL + Chiller + Sauna): Is It Worth It?
You are ready to buy a cold plunge. Then you spot something that makes you pause. A bundle with a…
October 22, 2026
Read More