
Date : October 14, 2026
Category: Recovery & Wellness
How to Set Up a Titan Cold Plunge Chiller (Step-by-Step Guide)
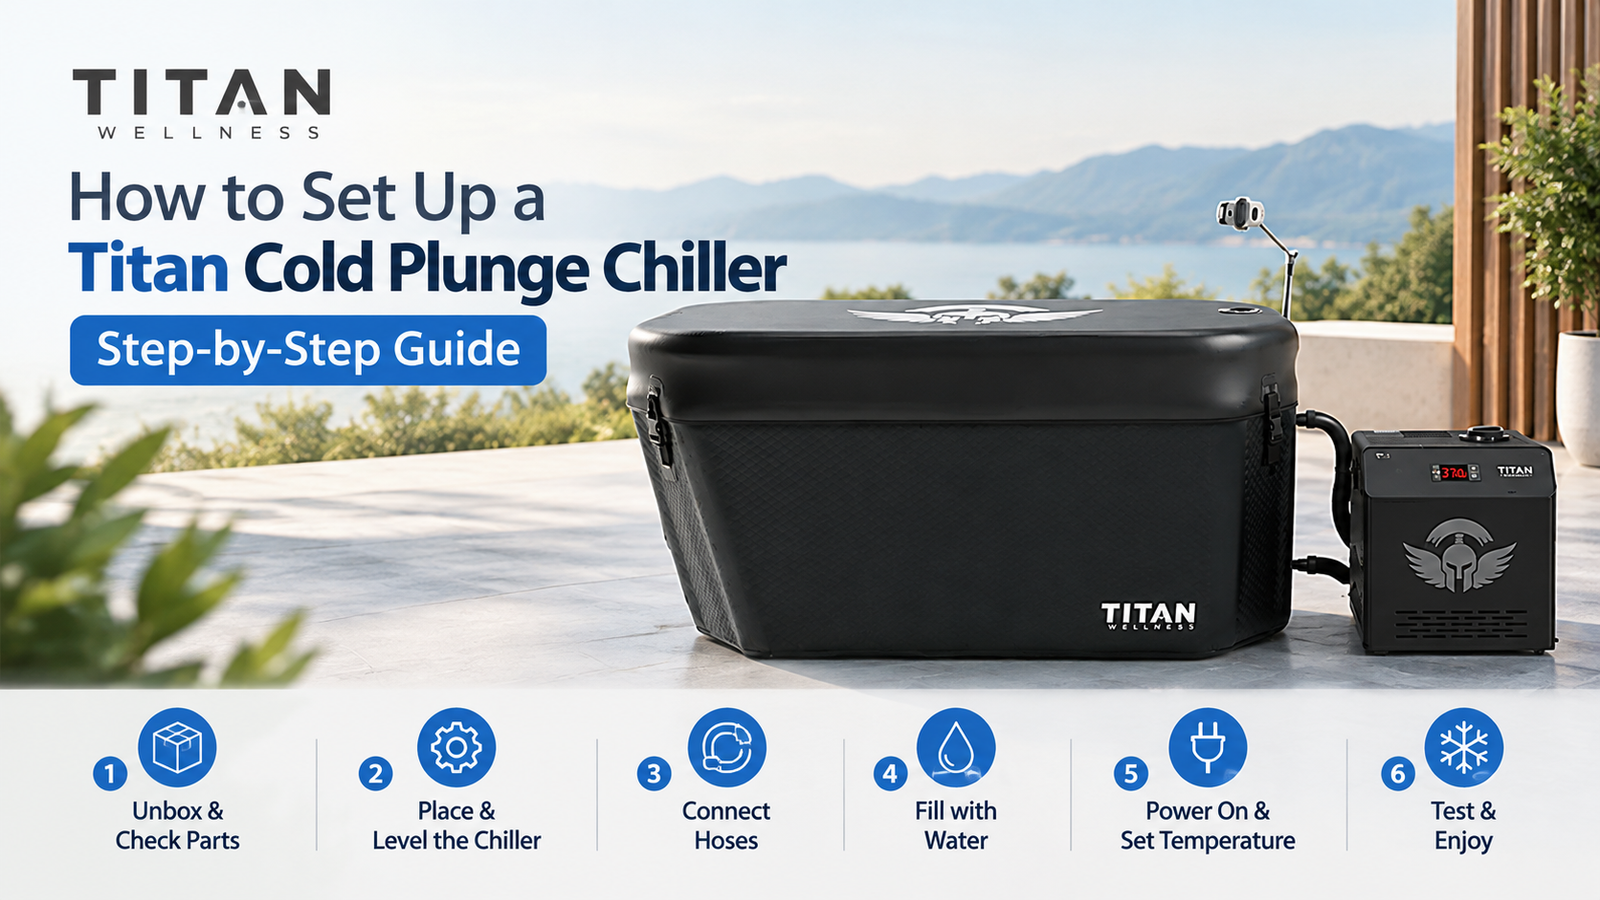
Can you set up a Titan cold plunge chiller yourself? Yes. And it takes just 15 to 20 minutes. You don’t need a plumber. You don’t need an electrician. You need only quick-connect hoses and a GFCI outlet. That’s it. But one small mistake can stop your chiller from cooling. Many new owners make it. This Titan wellness guide shows
Can you set up a Titan cold plunge chiller yourself? Yes. And it takes just 15 to 20 minutes. You don’t need a plumber. You don’t need an electrician. You need only quick-connect hoses and a GFCI outlet. That’s it.
But one small mistake can stop your chiller from cooling. Many new owners make it. This Titan wellness guide shows you every step, from unboxing to your first ice-cold plunge. It also shows you how to avoid that mistake.
What Do You Need Before You Start?
Before touching a single hose, get these basics sorted:
- A GFCI-protected outlet. Every Titan chiller ships with a GFCI power cable built for a standard 110V US plug. So a normal wall outlet works as long as it’s GFCI-protected, which is a safety requirement for any electrical device near water.
- A flat, stable surface for the chiller, with a few inches of clearance on all sides for airflow.
- Your cold plunge tub, filled or ready to fill.
- A garden hose for filling the tub.
- The instruction manual that ships in the box. Titan includes a detailed printed manual with every unit. It’s worth keeping nearby the first time you set up, since it covers small details specific to your exact model.
Every Titan chiller box also includes the hoses, insulation, a 20-micron water filter, a sediment filter, a fan dust filter, and the GFCI power cable. So, there’s nothing extra to buy just to get running.
How Do You Connect a Titan Cold Plunge Chiller to Your Tub?
This is the part people worry about most, and it’s genuinely the easiest step. Titan chillers use quick-connect insulated hoses, which means no wrenches, no thread tape, & no plumbing experience required.
- Position the chiller next to your tub, on stable ground, with the vents cleared.
- Connect the hoses between the chiller’s water ports and your tub’s inlet & outlet. The insulated hoses simply click into place on the quick-connect fittings and push until you feel it seat.
- Double-check that both connections are firmly attached before adding water. A loose fitting is the most common cause of a leak on day one.
- Fill the tub with your garden hose until the water level covers the ports on the tub.
- Power on the chiller and let it run for a few minutes before your first plunge. If water doesn’t circulate right away, there may be trapped air in the line. Run the pump for a few minutes, and it will typically clear.
- Install the filters included in the box. Make sure any protective plastic wrap is removed from the filter cartridge first. Skipping this is the single most common setup mistake, since a wrapped filter blocks flow and makes the chiller work harder than it needs to.
Once water is flowing & the filters are seated, you’re set. This is the same process whether you’re pairing the chiller with a Triumph cold plunge tub, an Apex acrylic tub, or a standalone tank. The chiller itself installs the same way regardless of which tub it’s feeding.
Here’s an example of what customers say about the setup.
A Trustpilot customer, Ger Apfe, shared a positive setup experience with the Titan Duo-Therapy Pro Sauna, saying the assembly was “extremely easy” and praising the materials and overall experience.
How Long Does It Take a Titan Chiller to Get Ice Cold?
This depends on your tub size, your climate, and which chiller model you’re running, but Titan’s chillers are designed for on-demand cooling rather than an overnight ice-bucket wait. All three Titan chiller models cool water down to 37°F (3°C); the difference between them is how fast they get there and how well they hold that temperature in hot conditions. A larger tub or a warm garage will naturally take longer to pull down than a small, insulated tub indoors.
Trustpilot customer Alexander Aquino also praised the chiller, sharing that it kept his Arctic Triumph at his preferred temperature consistently. After two months of daily use, he said the setup had been reliable and easy to maintain.
Is Titan Cold Plunge Actually Cold Enough?
Yes, every Titan chiller, whether the 1/3 HP, 1/2 HP, or 1 HP model, is rated to bring water down to 37°F (3°C). This is well within the range used for serious cold immersion & recovery work. The horsepower difference isn’t only about how cold the water can get. Yes, it’s important. It’s also important how quickly the unit gets there and how consistently it holds that temperature once the sun is out or the tub sees heavy daily use.
Trustpilot customer Rick Sutera shared that after more than a year of use, his Titan Cold Plunge was “working great,” including the Wi-Fi connection. His experience adds a long-term perspective on the chiller setup and everyday use.
Do You Need Special Wiring for a Titan Chiller?
No special wiring or dedicated circuit is required. Titan chillers run on a standard 110V US outlet, using the included GFCI power cable. Power draw varies by model. The 1/3 HP unit pulls roughly 815 W, the 1/2 HP roughly 1,141 W, & the 1 HP roughly 2,600 W. The daily running costs are modest, typically somewhere between $0.50 & $1.50 a day depending on the model, climate, and how often you’re using it. That’s comparable to running a home refrigerator.
How Do You Keep Your Titan Cold Plunge Chiller Running Smoothly?
A little upkeep goes a long way with any Titan cold plunge chiller:
- Change filters regularly: Titan sells replacement filter 4- packs built specifically for the chiller line. Swapping filters on schedule keeps flow rate & cooling performance where they should be.
- Keep the unit shaded: It works for both indoor & outdoor use. But direct sun exposure over time can affect long term performance. This is why a covered or shaded spot is ideal.
- Use the WiFi app controls: Titan’s chillers support app-based temperature control and scheduling, which makes it easy to have the water at your target temperature before you ever walk up to the tub.
- Don’t skip the manual: If anything seems off, the included instruction manual & Titan’s support team are the fastest way to troubleshoot before assuming something’s wrong.
Which Titan Chiller Is Right for Your Setup?
If you’re still deciding, the choice mostly comes down to climate and tub size:
- 1/3 HP: A solid entry point for smaller tubs and milder climates.
- 1/2 HP: A middle-ground pick for warmer environments or more frequent use.
- 1 HP: Built for larger tubs, hot climates, and heavy daily rotation.
You can compare specs & pricing directly on the Titan model comparison page before deciding which fits your space.
Ready to Feel the Difference?
Getting a Titan cold plunge chiller ready is quick. It takes minutes, not hours. And once it’s running, you get consistent, cold water like ice every single day, without ever touching a bag of ice again. If you are deciding between models or something goes wrong during setup, Titan’s support team will surely help you. The hardest part of cold plunging was never the water. It’s getting started, and now that part’s done too.
A Few FAQs to Answer Your Questions
Q1. Do I need a plumber to install a Titan chiller?
No. The quick connect hose system is designed for a DIY setup with no plumbing or electrical work required beyond plugging into a GFCI outlet.
Q2. What temperature does a Titan cold plunge reach?
Titan chiller units bring the water down to 37°F, which is 3°C. This stays the same no matter what horsepower you pick.
Q3. Can I run a Titan chiller inside and outside?
Yes. Titan chillers are made for both settings. If you can, place it in a shaded or covered area to help with long term use.
Q4. How often should the filter be replaced?
Titan says to change the filter on a regular schedule to keep water clear & maintain steady flow. You can order replacement filter packs from Titan.
Q5. My chiller is not cooling right after setup. What should I do?
First, make sure both hose ends are tight. Next, confirm the protective wrap on the filter has been removed. After that, follow the steps in the manual or check Titan’s FAQ.
Q6. Does the Titan cold plunge chiller have a warranty?
Yes. Each Titan chiller comes with a 2 year manufacturer warranty. It can be extended up to 5 years. More details are listed on Titan’s warranty page.
RECENT BLOGS
How to Set Up a Titan Cold Plunge Chiller (Step-by-Step Guide)
Oct. 14, 2026
What Size Titan Chiller Do You Need for Your Tub? (Sizing Guide)
Oct. 13, 2026
Titan 1/3 HP vs. 1/2 HP Chiller: Which Do You Actually Need?
Oct. 12, 2026
Titan External UV Sanitation Device Review: Does It Really Keep Water Cleaner?
Oct. 01, 2026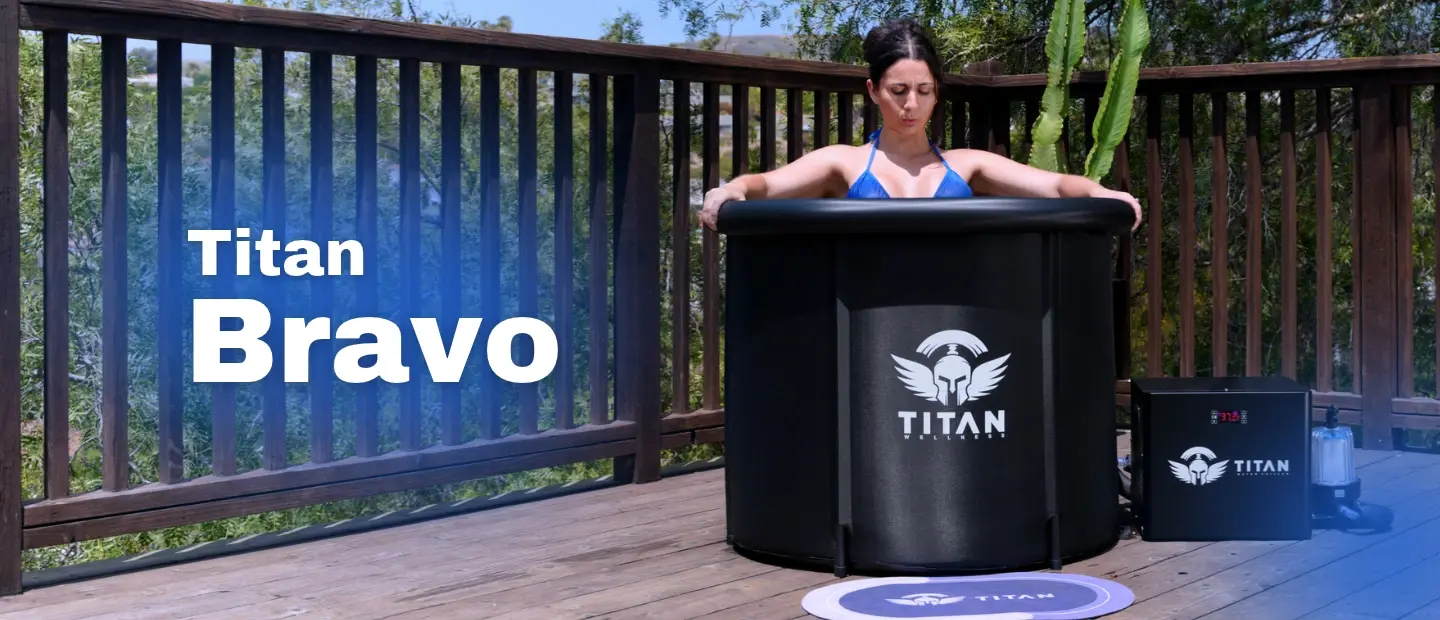
Titan Bravo Review: The Budget Pick Tested by Real Owners
Sep. 18, 2026Recent Blogs
How to Set Up a Titan Cold Plunge Chiller (Step-by-Step Guide)
Can you set up a Titan cold plunge chiller yourself? Yes. And it takes just 15 to 20 minutes. You…
October 14, 2026
Read More
What Size Titan Chiller Do You Need for Your Tub? (Sizing Guide)
Picture this. Your new tub is filled, your chiller is ready, and you are looking forward to your first plunge.…
October 13, 2026
Read More
Titan 1/3 HP vs. 1/2 HP Chiller: Which Do You Actually Need?
You have narrowed your cold plunge chiller search down to two options, and now you’re stuck. The Titan 1/3 HP…
October 12, 2026
Read More
Titan External UV Sanitation Device Review: Does It Really Keep Water Cleaner?
The Titan External UV Sanitation Device adds cold plunge UV sanitation to your water loop for $89. Customers describe clearer…
October 1, 2026
Read More
Titan Bravo Review: The Budget Pick Tested by Real Owners
The Titan Bravo is Titan Wellness’s entry-level cold plunge system: a 106-gallon inflatable cold plunge tub paired with a 1/3…
September 18, 2026
Read More
Titan Cold Plunge Chiller WiFi App Walkthrough: Every Feature Explained
The Titan Wellness cold plunge chiller WiFi app puts water temperature, session scheduling, and remote monitoring in one place, right…
September 9, 2026
Read More