Date : May 8, 2026
Category: Recovery & Wellness
Titan Cold Plunge Setup Guide for First-Time Users
You ordered it. It arrived. Now it is sitting in a box, and you are not sure where to start. That is the moment most people overthink. The good news is that the Titan cold plunge setup guide you need is shorter than you think. Most buyers go from unboxing to first plunge in under an hour.This guide from Titan
You ordered it. It arrived. Now it is sitting in a box, and you are not sure where to start.
That is the moment most people overthink. The good news is that the Titan cold plunge setup guide you need is shorter than you think. Most buyers go from unboxing to first plunge in under an hour.This guide from Titan Wellness Review covers everything in order: location, inflation, filling, chiller connection, temperature, and basic maintenance.
What You Need Before You Begin
Before you touch the box, get these four things sorted.
- A flat, stable surface: concrete, a deck, or a garage floor all work
- A standard 110V outlet within reach, no special wiring needed
- A garden hose or water source close by
- The Titan app is downloaded on your phone before you start
That last one saves time. Connecting the chiller through the app is faster when it is already installed and ready.
How to Set Up Your Titan Cold Plunge: Step by Step
Follow these in order. Do not skip the inspection step.
Step 1: Unbox and Inspect
Everything ships in a thick canvas carry bag with wheels and backpack straps. Lay everything out and check for the following:
- Tub and cover
- Chiller unit
- Inlet and outlet hoses
- Pump
- Filter
- Power cable
If anything looks damaged from shipping, photograph it before setup and contact Titan support. Do not wait.
Step 2: Pick Your Location
This step matters more than people think. A bad location creates problems every single day.
- Outdoor cold plunge setup: garage, patio, and backyard all work well
- Must have: a flat surface, a 110V outlet within cord reach, and easy access to drainage
- Hot climate users: keep the chiller in the shade. Direct sun cuts cooling performance noticeably
- Indoor setup: plan for condensation. The tub sweats in warm conditions, so have a mat or drainage ready
The chiller needs a few inches of clearance around it for airflow. Do not push it flush against a wall.
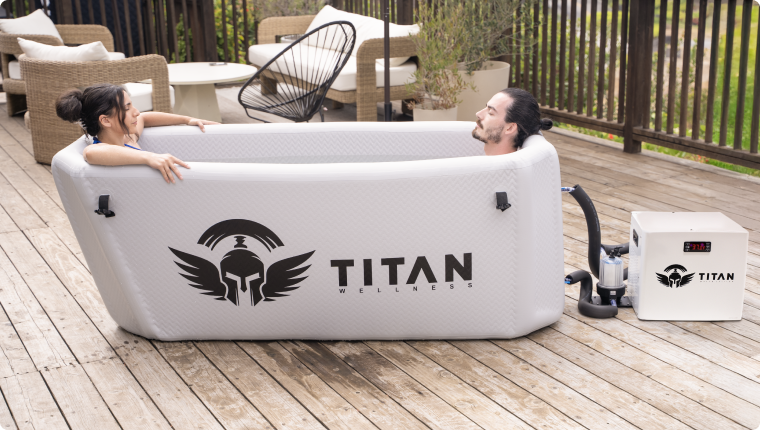
Step 3: Inflate the Tub
Use an air compressor to get the tub most of the way up. Then use the hand pump to dial in the final pressure. The max recommended PSI is 10. Most users stop between 7 and 8 and find it more than firm enough.
Once the tub is filled with water, it will feel nearly rigid. The drop-stitch construction is built for that.
Step 4: Fill with Water
- Run a garden hose to the fill line marked inside the tub
- Cold tap water is fine. The chiller will bring it down from there
- Do not overfill. Leave space according to the manual
- Fill time is usually 20 to 30 minutes, depending on your water pressure
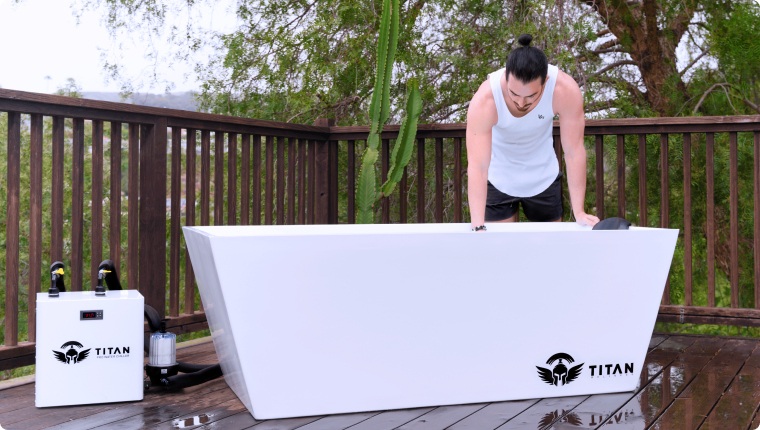
Step 5: Titan Cold Plunge Chiller Setup
This is where most first-time buyers pause. The connections are actually simple once you see them labeled.
- Connect the inlet hose to the inlet port on the chiller
- Connect the outlet hose to the outlet port
- Both ports are labeled directly on the unit
- Plug the chiller into a standard 110V outlet
- Open the Titan app and connect the chiller to your WiFi
- Set your starting temperature before powering on
Which chiller HP should you use? Here is the breakdown based on your climate:
| Chiller | Best For | Climate |
| 1/3 HP Standard | Light daily use | Under 85°F ambient temp |
| 1/2 HP Pro | Most users | 85°F to 95°F, most popular pick |
| 1 HP Pro+ | Hot climate users | 95°F and above, TX, AZ, FL |
Step 6: Run the System
- Power on the chiller and confirm the app is connected
- Let it run overnight for the first cool-down
- Check the temperature in the morning before your first session
- The first cool-down typically takes 8 to 12 hours
- In extreme heat, allow up to 16 hours on day one
What Temperature Should You Start At?
This is where most beginners make the mistake of going too cold too fast. Short sessions at the wrong temperatures do not build the habit.
| Experience Level | Start Temp | Session Duration |
| Beginner | 50 to 59°F | 1 to 3 minutes |
| Intermediate | 45 to 50°F | 3 to 5 minutes |
| Advanced | 37 to 42°F | 5 to 10 minutes max |
Use the Titan app timer so you are not watching the clock. It is one of the features long-term users mention most. Stop the session if you feel numbness in your hands, dizziness, or uncontrollable shivering. Those are signals to get out, not push through.
Titan Cold Plunge Maintenance: Keep It Running Clean
Most people ignore this until something slows down. A basic schedule prevents 90 percent of issues.
Weekly
- Check the filter and rinse if you see debris
- Top up water if the level drops
- Wipe the chiller exterior and keep the vents clear
Monthly
- Full filter clean or replacement
- Complete water drain and refill
- Add hydrogen peroxide at 50 to 100 ppm to keep the water clean between changes
- Check all hose connections and hand-tighten if loose
Every 3 Months
- Check the tub PSI and add air if it has dropped below 6
- Clear chiller vents of any dust buildup
- Check for Titan app updates
Final Thoughts
The full titan cold plunge setup guide in short: find a flat surface, inflate it, fill it, connect the chiller, set your starting temp, and let it run overnight. Most people are in the water within an hour of opening the box. The hard part is not setting it up. It is getting in.
Start at 55°F for the first week. Drop the temperature as your tolerance builds. Be consistent, and results follow. If you want the full breakdown of the product before or after setup? Read our Titan Cold Plunge review for what verified buyers report after months of daily use.Still deciding if the investment makes sense? The is Titan Cold Plunge worth it breakdown covers real cost versus real results. And if you want an honest look at both sides? Our Titan Cold Plunge pros and cons cover what works and what does not based on verified buyer patterns.
Common Setup Questions
Should I run the chiller 24/7 or on a schedule?
A schedule works fine. The Titan app lets you set run times so the chiller is not working around the clock. Run it 2 to 3 hours before your planned session. That is enough to hold the target temperature without burning extra energy all day long.
What if the chiller connections seem confusing?
The inlet and outlet ports are labeled directly on the unit. Match label to label. If you are still unsure, Titan support picks up quickly. Most buyers who called got help the same day.
How long does the first cool-down take?
Most users hit their target temperature within 8 to 12 hours of the first run. If you are in a hot climate and set it up outdoors in summer, give it 12 to 16 hours on day one. It will hold steady after that.
RECENT BLOGS
Titan Cold Plunge Chiller Noise Level: The Apartment Buyer’s Guide
Jun. 29, 2026Titan Cold Plunge Financing: What Buyers Say About Payment Plans and 0% APR
Jun. 25, 2026Titan Cold Plunge Warranty and Repairs: What Buyers Report Before Committing to a Purchase
Jun. 23, 2026Is Titan Cold Plunge HSA or FSA Eligible? What Verified Buyers Report
Jun. 22, 2026What Makes Titan Cold Plunge Worth It for Home Use
Jun. 18, 2026Recent Blogs
Titan Cold Plunge Chiller Noise Level: The Apartment Buyer’s Guide
Most buyers get to the checkout page and stop. Not because of the price. Not because of the specs. But…
June 29, 2026
Read More
Titan Cold Plunge Financing: What Buyers Say About Payment Plans and 0% APR
A lot of buyers do not think about financing until they are already on the product page. Then they see…
June 25, 2026
Read More
Titan Cold Plunge Warranty and Repairs: What Buyers Report Before Committing to a Purchase
A cold plunge system is not a small purchase. For many buyers, it runs into several hundred to a few…
June 23, 2026
Read More
Is Titan Cold Plunge HSA or FSA Eligible? What Verified Buyers Report
Most buyers searching this question are not asking out of curiosity. They are standing at checkout, looking at a $578…
June 22, 2026
Read More
What Makes Titan Cold Plunge Worth It for Home Use
Most people who quit cold plunging do not quit because of the cold. They quit because of the prep. Hauling…
June 18, 2026
Read More

How Titan Cold Plunge Fits Into a Daily Morning Routine: What Owners Actually Do
Cold plunging sounds simple. Wake up, get in, get out, and that’s it. Most people assume the hard part is…
June 17, 2026
Read More